
There is a particular satisfaction in arranging flowers yourself — choosing each stem, trimming, turning the vase, stepping back to admire something beautiful that your own hands made. Professional florists make it look effortless, but their ease comes from a handful of learnable techniques, not mysterious talent. Whether you have brought home supermarket stems, received a loose bunch as a gift, or picked up fresh flowers from a Dubai market, this guide will teach you to arrange a bouquet at home like a florist: the tools, the method, and the small professional secrets that make all the difference.
What You’ll Need: The Florist’s Toolkit
You don’t need a professional studio — just a few basics that make the job dramatically easier.
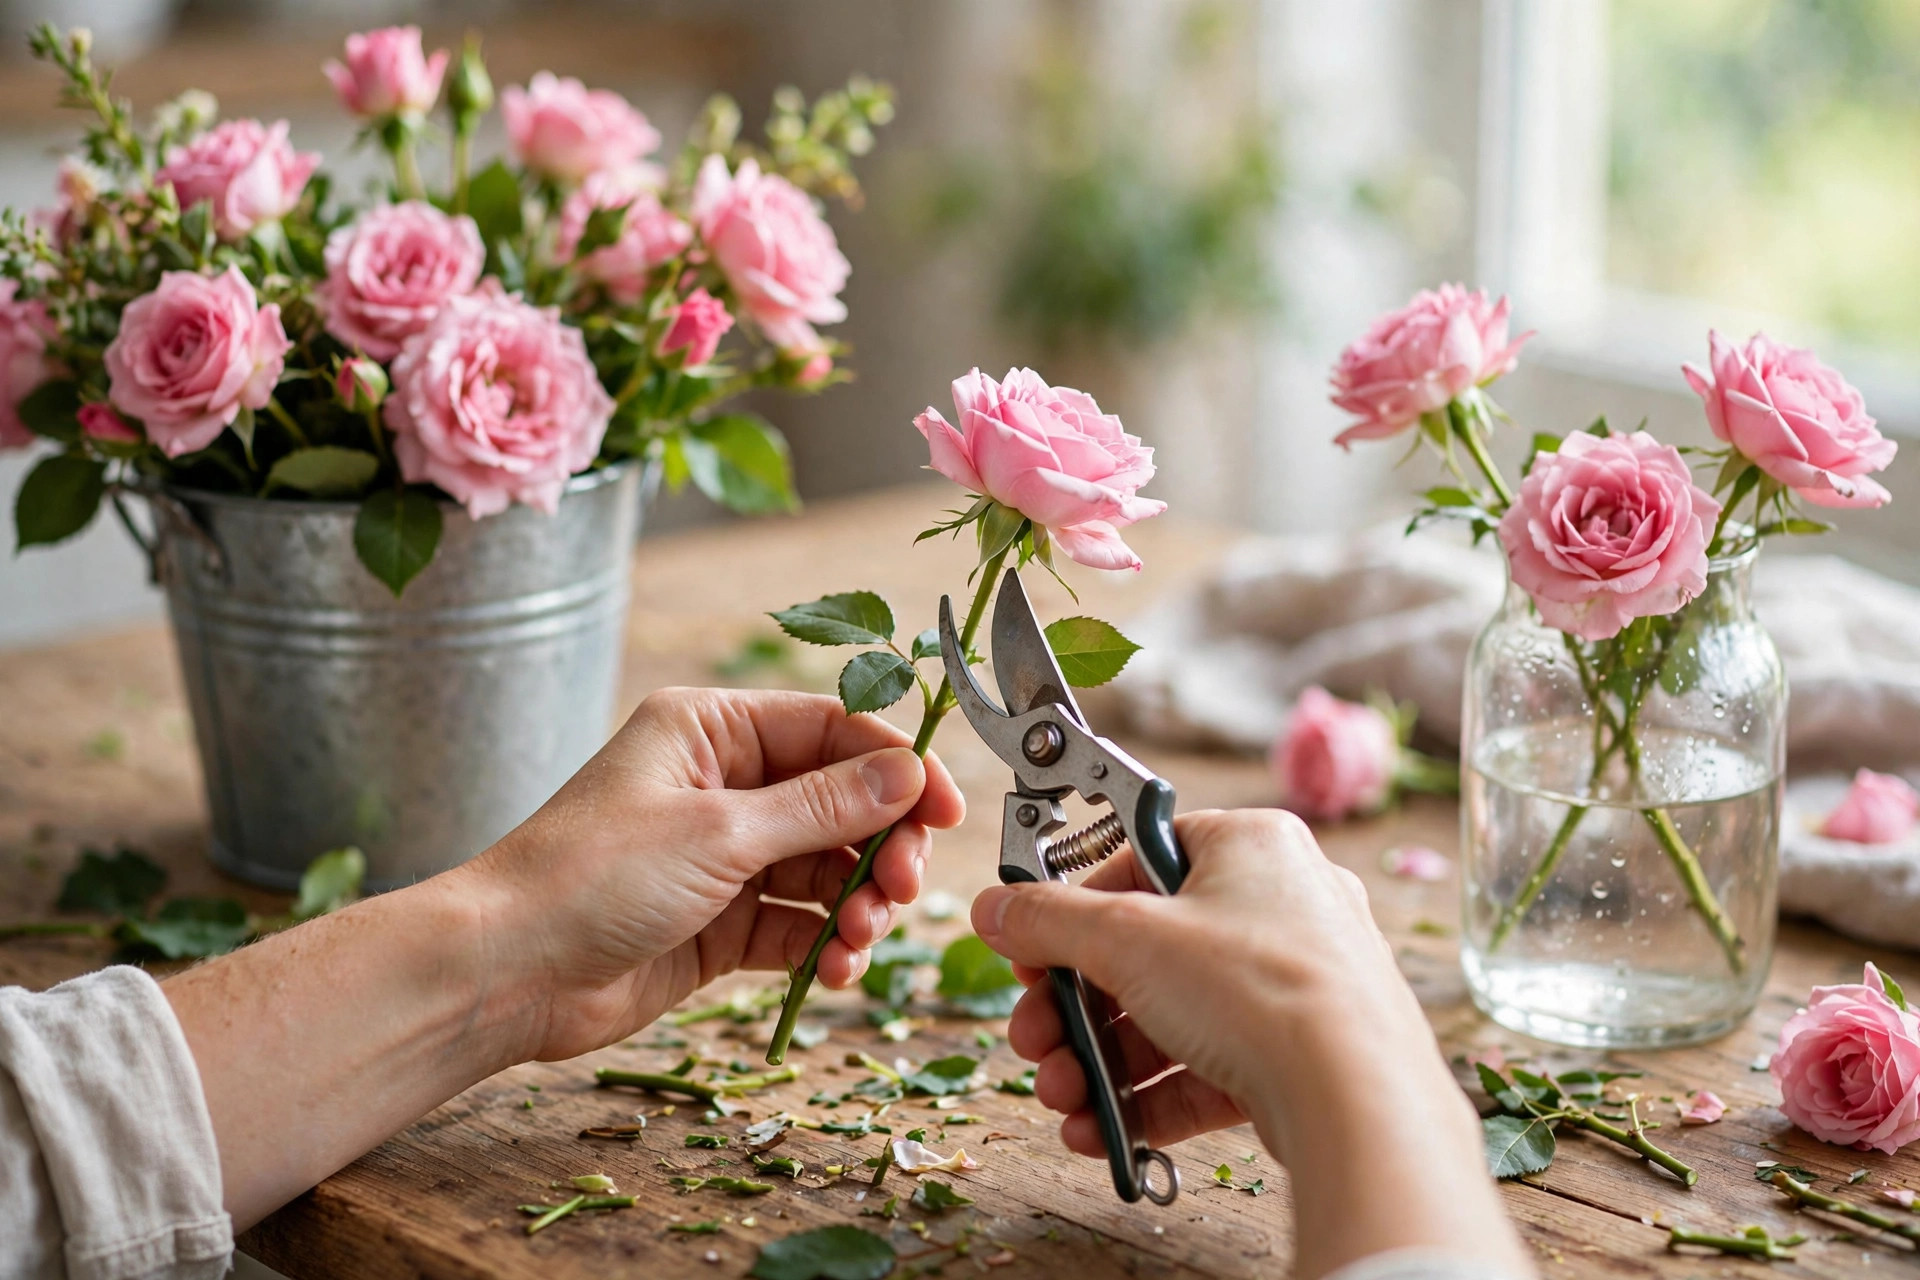
- Sharp scissors or floral shears. The single most important tool. Dull blades crush stems instead of cutting them, blocking water uptake. A dedicated pair of floral scissors is a small investment that transforms results.
- A clean vase. Wash it with hot soapy water before every use — bacteria from the last bouquet are the top killer of fresh flowers.
- Flower food. Those little sachets genuinely work: sugar feeds the blooms, acid helps water uptake, and biocides suppress bacteria. If you run out, a teaspoon of sugar plus a few drops of lemon juice in a litre of water is a decent homemade substitute.
- A binding point — tape grid or chicken wire. Professionals rarely just drop stems into a vase. A grid of clear floral tape across the vase mouth, or a ball of chicken wire inside, holds each stem exactly where you place it. This one trick is responsible for most of the “how did they do that?” effect.
- Water at room temperature. Lukewarm water is absorbed faster than cold, giving fresh cuts a head start. (The old “warm water for woody stems, cold for bulbs” rule is debated, but room temperature is never wrong.)
Preparing Your Flowers Like a Pro
Preparation — “conditioning” in florist language — determines how long your arrangement lasts and how good it looks on day one.
Unwrap and hydrate immediately
Get flowers into water as fast as possible, especially in Dubai’s heat. If stems have been out of water during the drive home, they have formed air bubbles in their vessels — recutting solves this.
Cut at 45 degrees, under water if you can
Trim 2–3 cm off every stem at a sharp angle. The angle increases the surface area for drinking and stops the stem sitting flat on the vase bottom. Cutting under running water prevents air from entering the stem — a detail professionals swear by.
Strip all lower foliage
Remove every leaf that would sit below the waterline, plus any damaged outer petals (“guard petals”) on roses. Foliage in water rots within a day and poisons the water for every stem.
Let them drink before arranging
Give conditioned stems an hour or two in deep water before you arrange them. Hydrated stems are firmer, easier to place, and hold their positions better.
The Spiral Technique: The Florist’s Core Skill
The hand-tied spiral is the foundation of professional bouquet-making, and it is simpler than it looks. Hold one stem upright in your non-dominant hand — this is your centre. Add each subsequent stem at a slight angle, always turning in the same direction, so the stems cross and form a spiral. Every few stems, rotate the bunch and check the shape from above: you are building a dome. Place larger focal flowers (roses, lilies) in the centre and lower, smaller blooms and fillers toward the edges and slightly higher to create the rounded profile.
Keep your grip relaxed — a death grip bruises stems. When the bouquet feels full and balanced, bind the spiral point (where the stems cross) with twine, raffia, or ribbon, trim the stem ends evenly, and place it in water. The spiral does two magical things: it makes the bouquet hold its shape without a vase, and it creates that professional dome silhouette that distinguishes florist work from a bunch dropped in a jar.
Building the Arrangement in a Vase
For vase arrangements, professionals work in layers:
Step 1: The foundation — foliage
Start with greenery to establish the shape and size. Eucalyptus, ruscus, or leather fern create the skeleton: place taller stems at the back and centre, shorter ones at the edges, turning the vase as you go so the shape is balanced from every angle.
Step 2: The focal flowers
Add your stars — roses, lilies, peonies — in odd numbers (three, five, seven), placing them at different depths. Odd numbers look natural; varying the depth creates dimension. Push some blooms deep into the foliage and let others stand proud.
Step 3: The supporting cast
Fill the gaps with secondary blooms — carnations, lisianthus, spray roses — tucking them between the focal flowers so no empty holes remain.
Step 4: Line and movement
Add height and grace with line flowers — snapdragons, delphinium, stock — letting a few stems arc outward for a natural, garden-gathered feel.
Step 5: The finishing touches
Step back — literally. View the arrangement from across the room and from above. Turn it. Professionals check their work from every angle, adjusting stems that stick out or lean. Add a final sprig of filler (waxflower, statice) wherever the eye finds a gap.
Design Principles That Make Arrangements Look Expensive
Choose a colour palette, not a rainbow
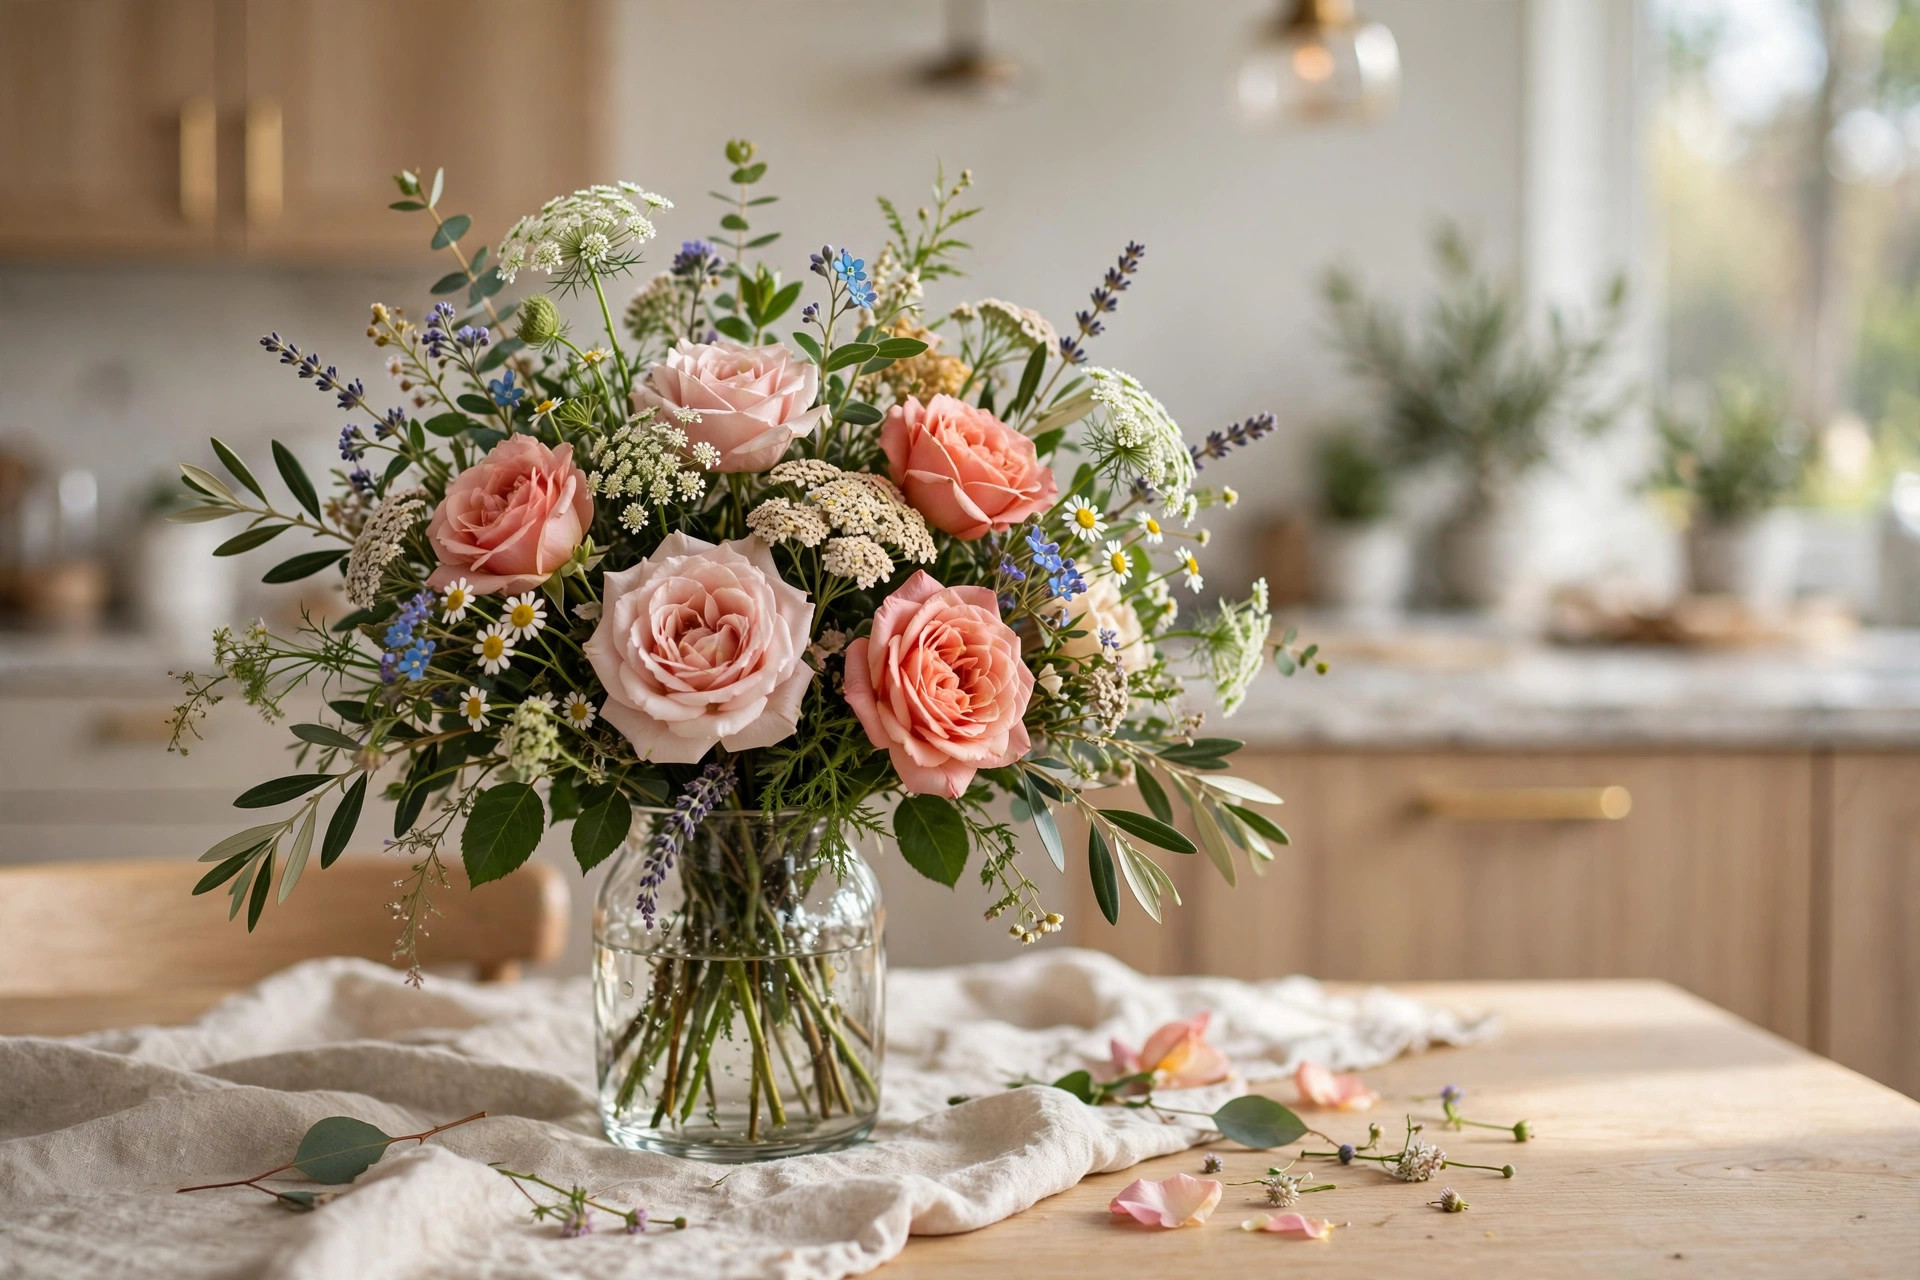
The difference between amateur and professional is restraint. Pick two to three colours — say blush, cream, and sage green — and stay inside them. A limited palette always looks more luxurious than every colour at once.
Vary heights and depths
Flat-topped arrangements look stiff. Let some blooms tower and others nestle low; the variation creates the lush, abundant feel of professional work.
Group, don’t scatter
Instead of distributing each flower type evenly, cluster three roses together here, five carnations there. Grouping creates rhythm and impact — it is how florists make a dozen stems look like thirty.
Let foliage show
Beginners hide the greenery; professionals celebrate it. Visible foliage between blooms adds depth, contrast, and that just-gathered naturalness.
Consider the vase as part of the design
A beautiful vase does half the work. In Dubai homes, a sculptural ceramic or clear glass cylinder elevates even simple stems. Match the vase scale to the bouquet — a drowning bouquet in an oversized vase, or a cramped one in a tiny jar, both fight the flowers.
Common Mistakes (and Easy Fixes)
- Stems cut straight across — recut at 45 degrees for better drinking and a more natural splay in the vase.
- All flowers at the same height — pull some stems up, push others down; instant dimension.
- Too many colours — remove one colour family entirely and watch the arrangement calm into elegance.
- Hiding the mechanics — if stems won’t stay put, you need a tape grid or chicken wire, not more flowers.
- Arranging dry, thirsty flowers — condition first, arrange second; an hour of drinking transforms workability.
- Forgetting the back — if the arrangement will be seen from all sides (dining table centrepiece), design all the way around, not just the front.
Keeping Your Home Arrangement Fresh in Dubai
Dubai’s climate is the final boss of flower arranging: heat accelerates everything. Display your creation in the coolest room, away from sun-facing windows and direct AC blasts. Change the water every two days — daily in summer — recutting stems each time. Keep arrangements away from the fruit bowl (ethylene gas from ripening fruit ages blooms prematurely). And choose your flowers with the season in mind: in summer, build around orchids, anthuriums, and carnations that forgive warmth; save the delicate ranunculus and sweet peas for the cooler months when Dubai’s flower markets overflow with them.
Frequently Asked Questions
What is the easiest professional bouquet technique for beginners?
The hand-tied spiral: hold one stem as the centre, add each new stem at an angle while turning the bunch in one direction, building a dome shape. Bind where the stems cross, trim evenly, and place in water. It creates the professional rounded silhouette with practice.
How do I make flowers stay in place in a wide vase?
Use a tape grid — strips of clear floral tape crisscrossed over the vase mouth — or a loosely scrunched ball of chicken wire inside the vase. Both hold each stem exactly where you place it and are the professional’s secret for structured arrangements.
Should I cut flower stems at an angle?
Yes — a 45-degree cut increases the surface area for water uptake and prevents the stem from sitting flat on the vase bottom. Cut under running water when possible to stop air bubbles entering the stem.
Why do my home arrangements look flat compared to a florist’s?
Usually three reasons: all stems at the same height (vary depths), flowers scattered instead of grouped (cluster each variety), and no visible foliage (let greenery show between blooms). Fix those and the arrangement gains instant dimension.
How do I keep a home bouquet fresh in Dubai’s heat?
Display in the coolest room away from sun, change water every two days (daily in summer), recut stems with each change, keep away from ripening fruit, and favour heat-tolerant flowers like orchids, anthuriums, and carnations in the hot months.
What flowers are best for beginner arrangers?
Start with forgiving, long-lasting stems: roses, carnations, alstroemeria, and chrysanthemums, plus eucalyptus or ruscus for foliage. They are sturdy, affordable, widely available in Dubai, and they hold up while you learn.
Best Flowers to Gift on New Year’s Eve
As the clock ticks down on the final moments of the year, people around the world gather to celebrate new beginnings. Among the fireworks and

Valentine’s Day Flower Gifts 2026 in Dubai
Valentine’s Day in Dubai never really feels quiet. Restaurants book out early, delivery slots disappear faster than expected, and people suddenly realize they should’ve planned
Same Day Flowers Delivery on Valentine’s Day 2026 in Dubai
Valentine’s Day has a way of sneaking up on us. One moment you’re thinking you have plenty of time, and the next — it’s already